FlashVSR on an RTX 5060 Ti: From 480p Input to 1728×960 Video, Plus Every Pitfall I Hit
A note before we start
“Make a 480p video clearer” sounds like a simple resize operation. In practice, video super-resolution is closer to asking a restorer to repair hundreds of neighboring photographs while making sure faces, text, lighting, and motion do not jump from frame to frame. This post records a complete FlashVSR_plus experiment on an RTX 5060 Ti: compatibility checks, portable Miniconda setup, model download, source-level bugs, FFmpeg audio muxing, and reusable Windows, Ubuntu, and macOS scripts.
The FlashVSR_plus build used here is a community variant rather than the official upstream repository. Commands and flags can change between versions. Paths in this article are public examples; the original video, model cache, and raw terminal logs were not uploaded.
1. The result first: successful, but not magically 1920×1080
The source was 864×480 at 24 FPS and about 5.17 seconds. A 2× run produced 1728×960, H.264, 24 FPS, and the original AAC audio was muxed into a new output file. The result plays correctly and keeps the expected duration.
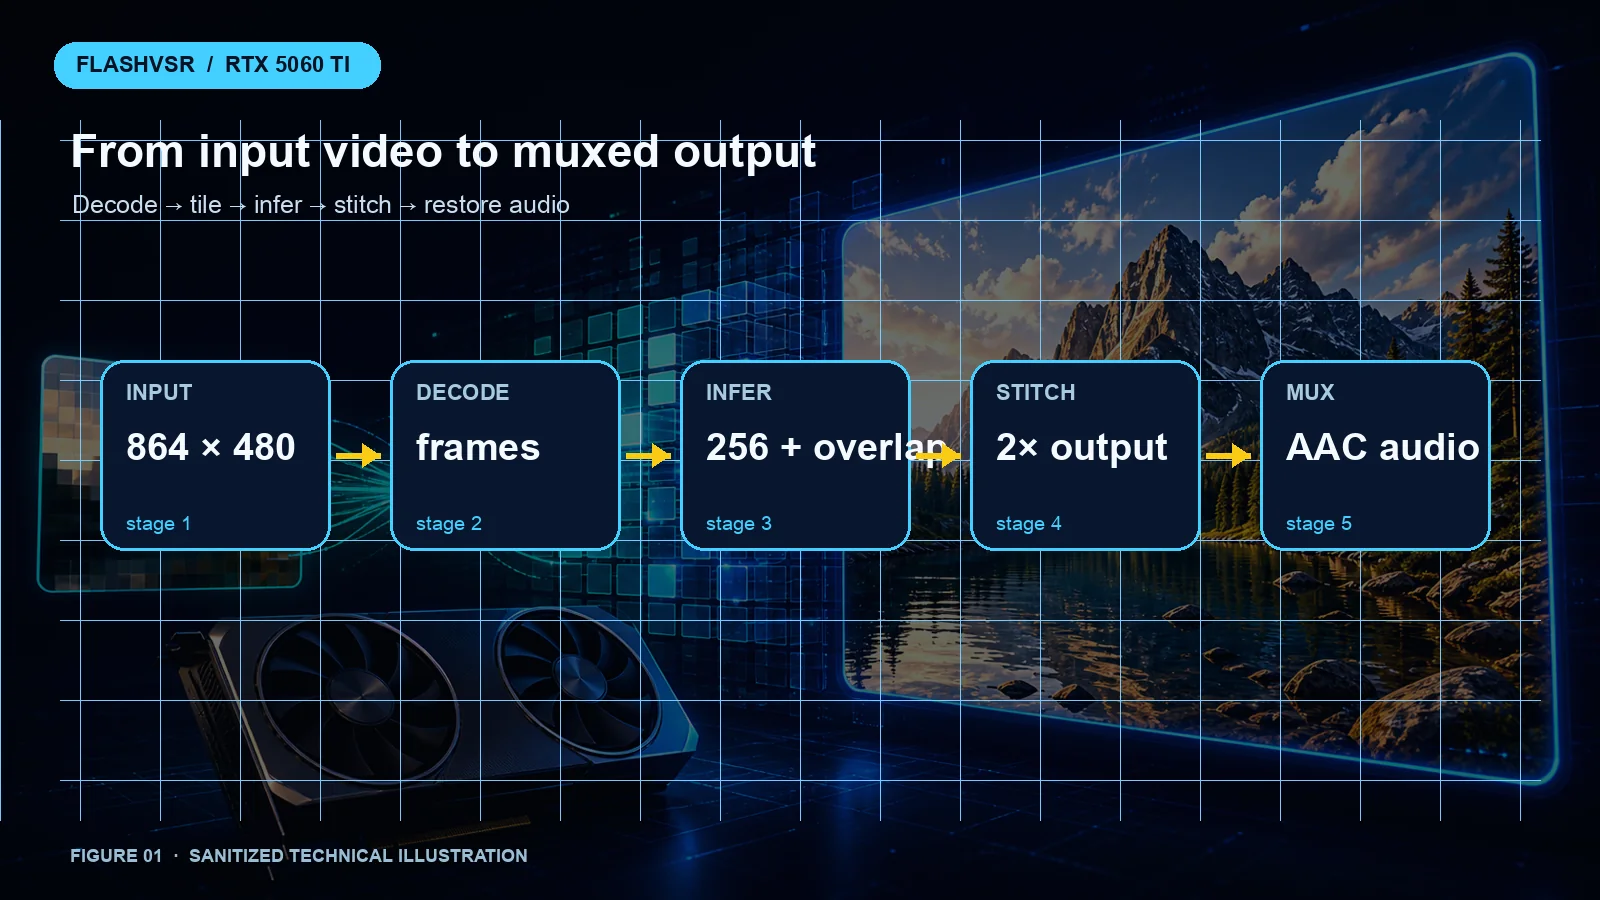 Figure 1: Decode, tile, infer, stitch, and mux
The important caveat is that 2× does not mean exactly 1920×1080. Multiplying 864×480 by two gives 1728×960 because the source aspect ratio is not 16:9. Forcing 1920×1080 would be a separate crop, pad, or distortion decision.
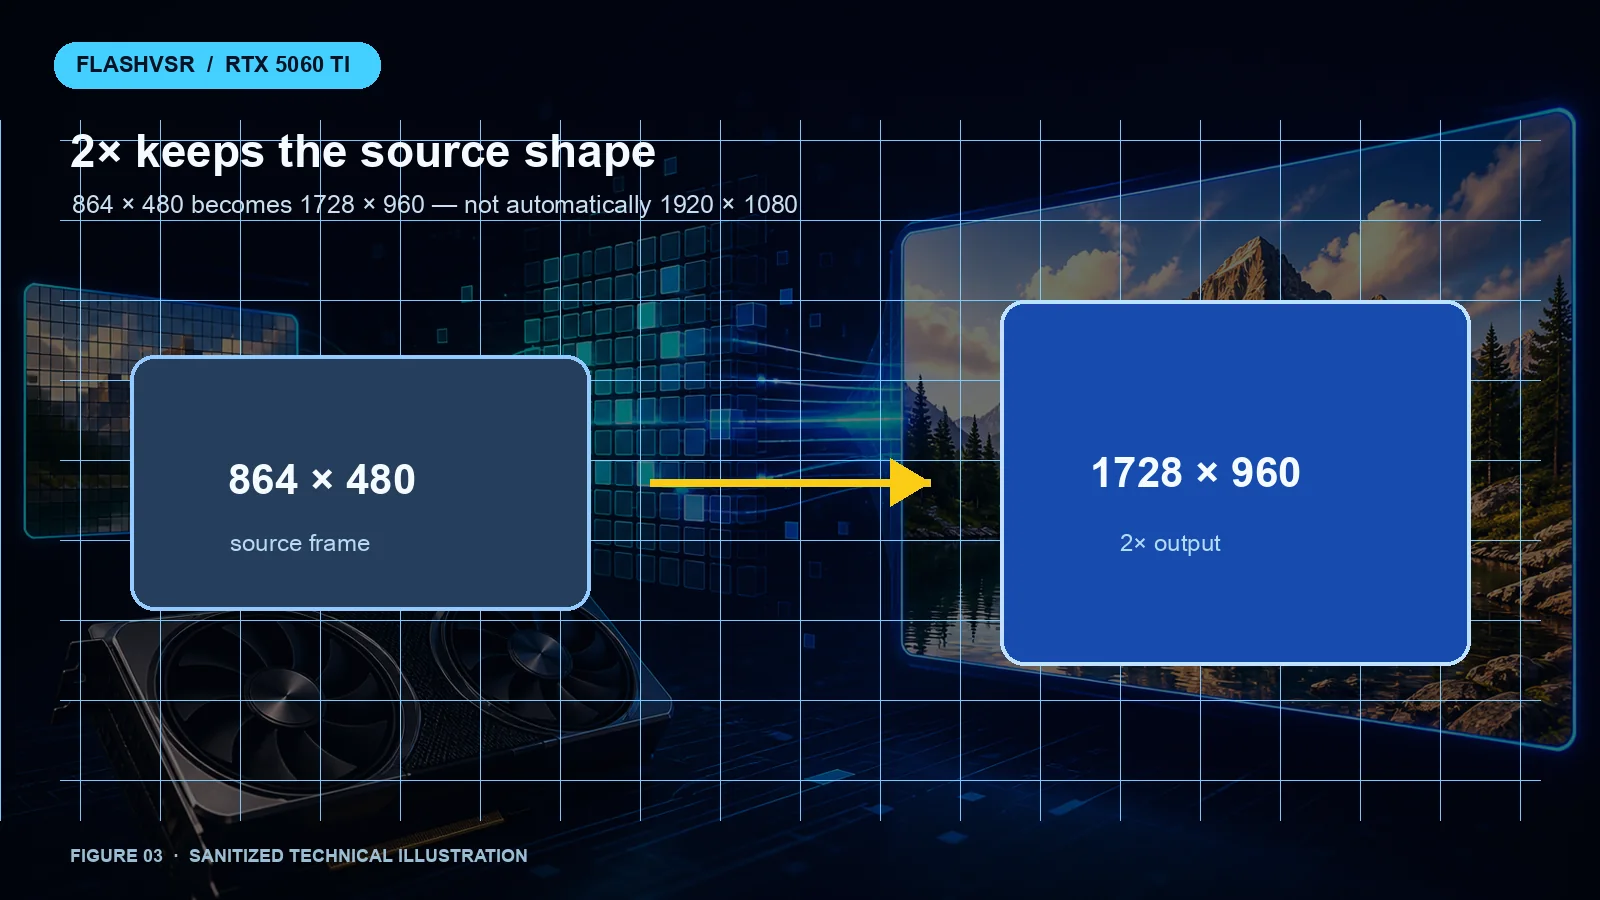 Figure 2: 2× while preserving the source shape
2. Why Blackwell compatibility deserved its own investigation
The RTX 5060 Ti belongs to the RTX 50 family. When a new GPU meets an older AI project, the failure is often not in the neural network itself. It may be somewhere in the translation chain: the driver exposes the hardware, the CUDA runtime interprets GPU instructions, PyTorch packages those capabilities, and FlashVSR calls PyTorch. One broken layer can surface as a vague “no device” message.
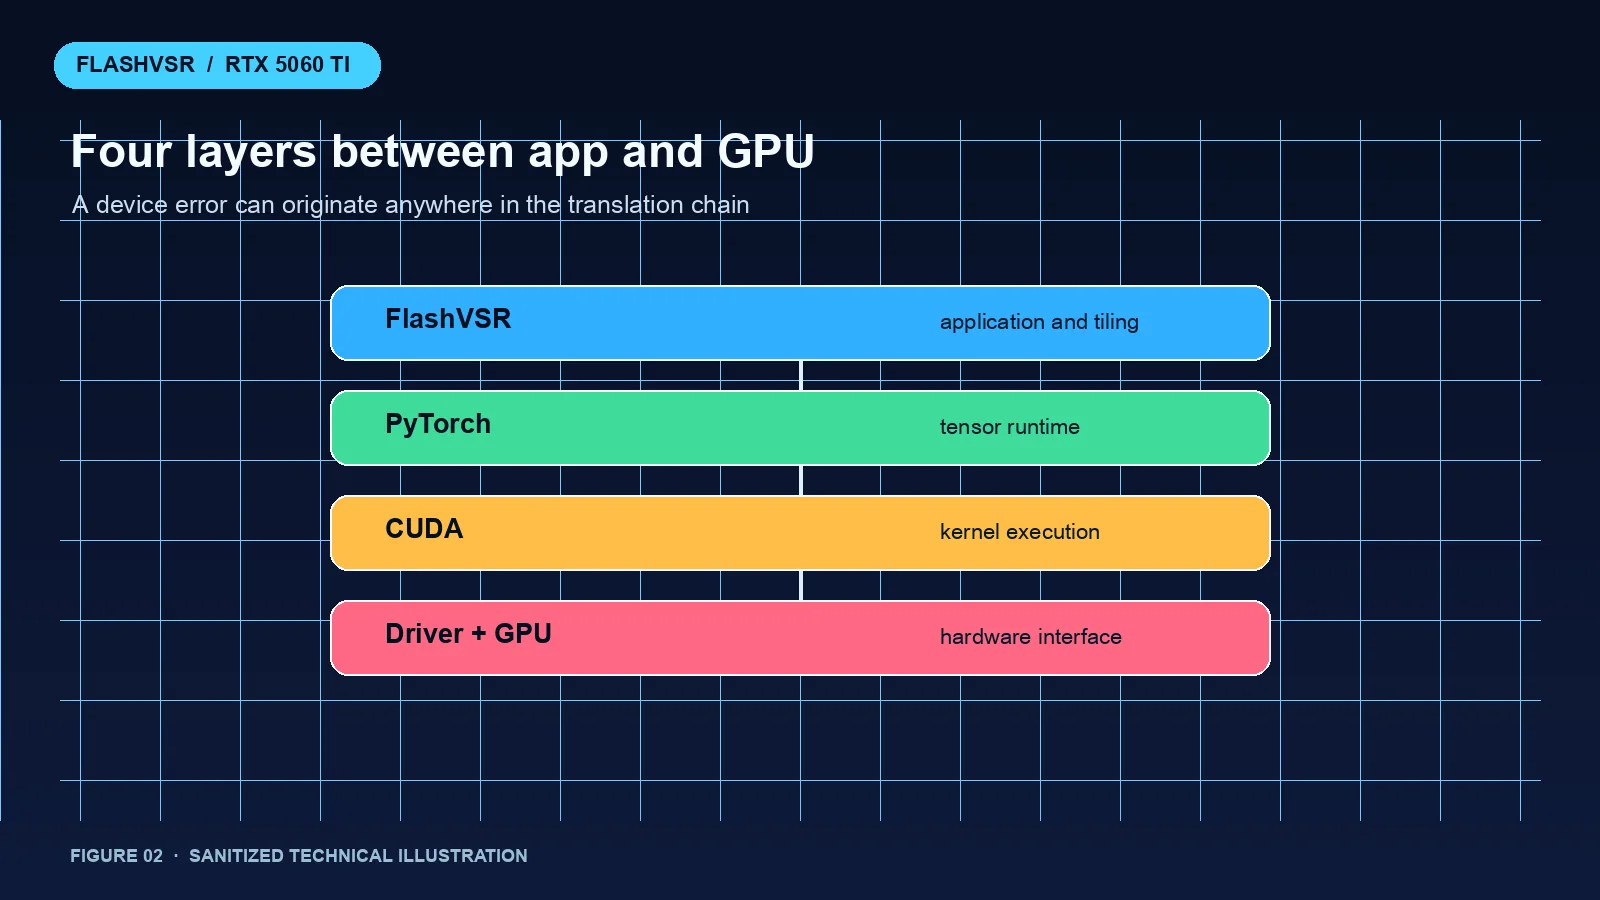 Figure 3: Four layers between the application and the GPU
The tested environment reported driver CUDA 13.1, PyTorch 2.8.0+cu128, bundled CUDA runtime 12.8, torch.cuda.is_available() == True, and the correct RTX 5060 Ti device name. Do not turn one observed version into a permanent rule. Validate the exact environment you are going to run:
python -c "import torch; print(torch.__version__); print(torch.version.cuda); print(torch.cuda.is_available()); print(torch.cuda.get_device_name(0)); print(torch.cuda.get_device_capability(0))"
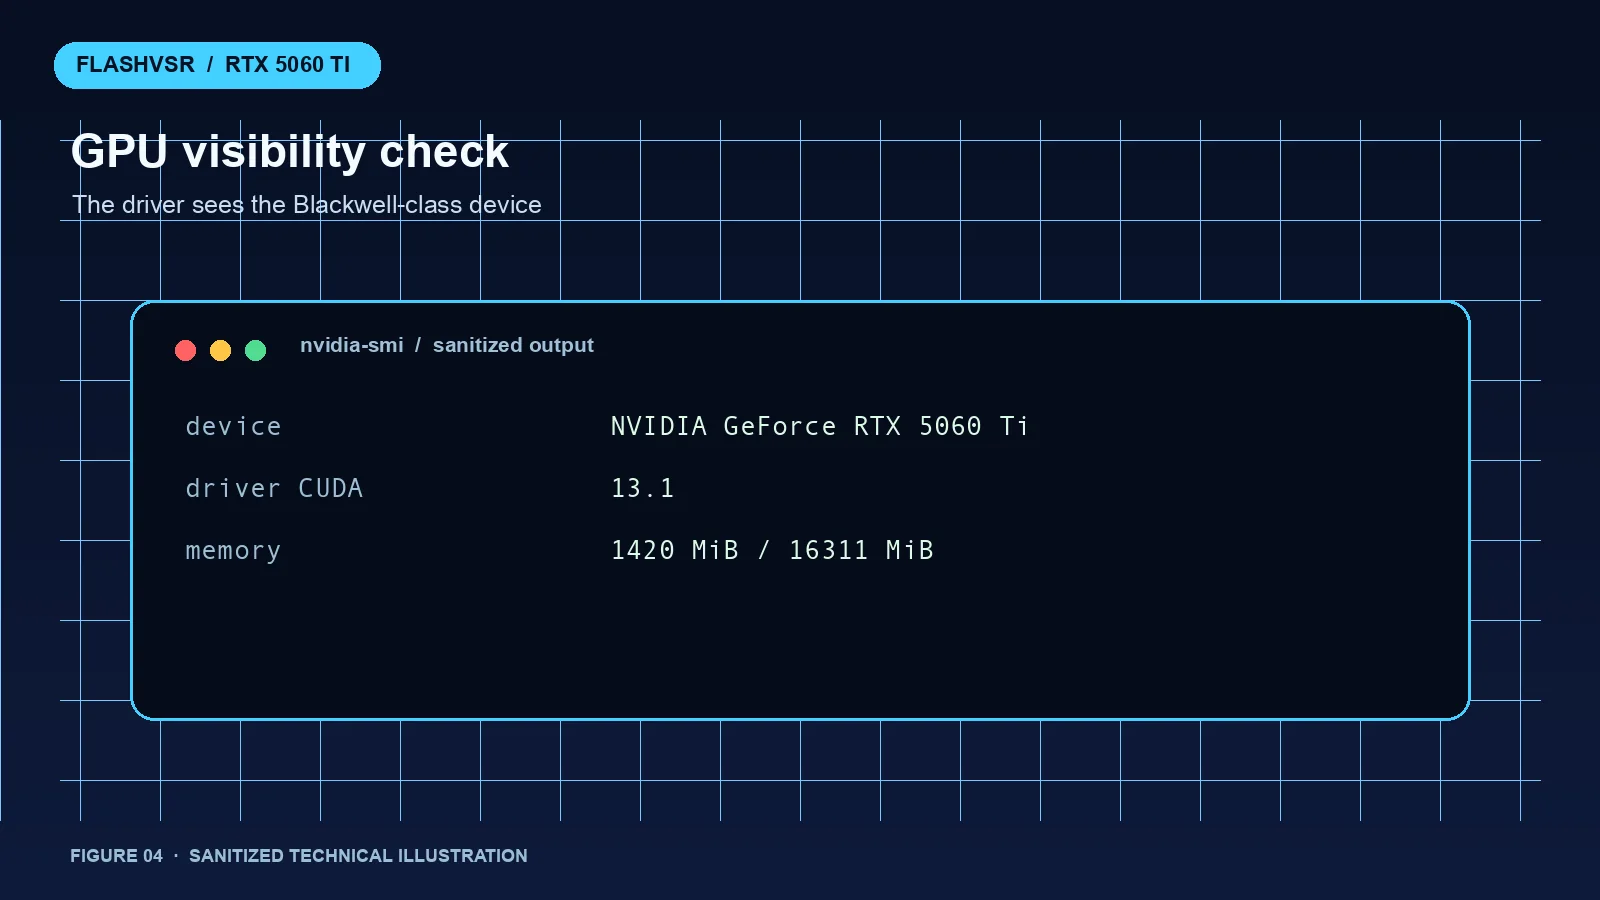 Figure 4: Sanitized GPU check
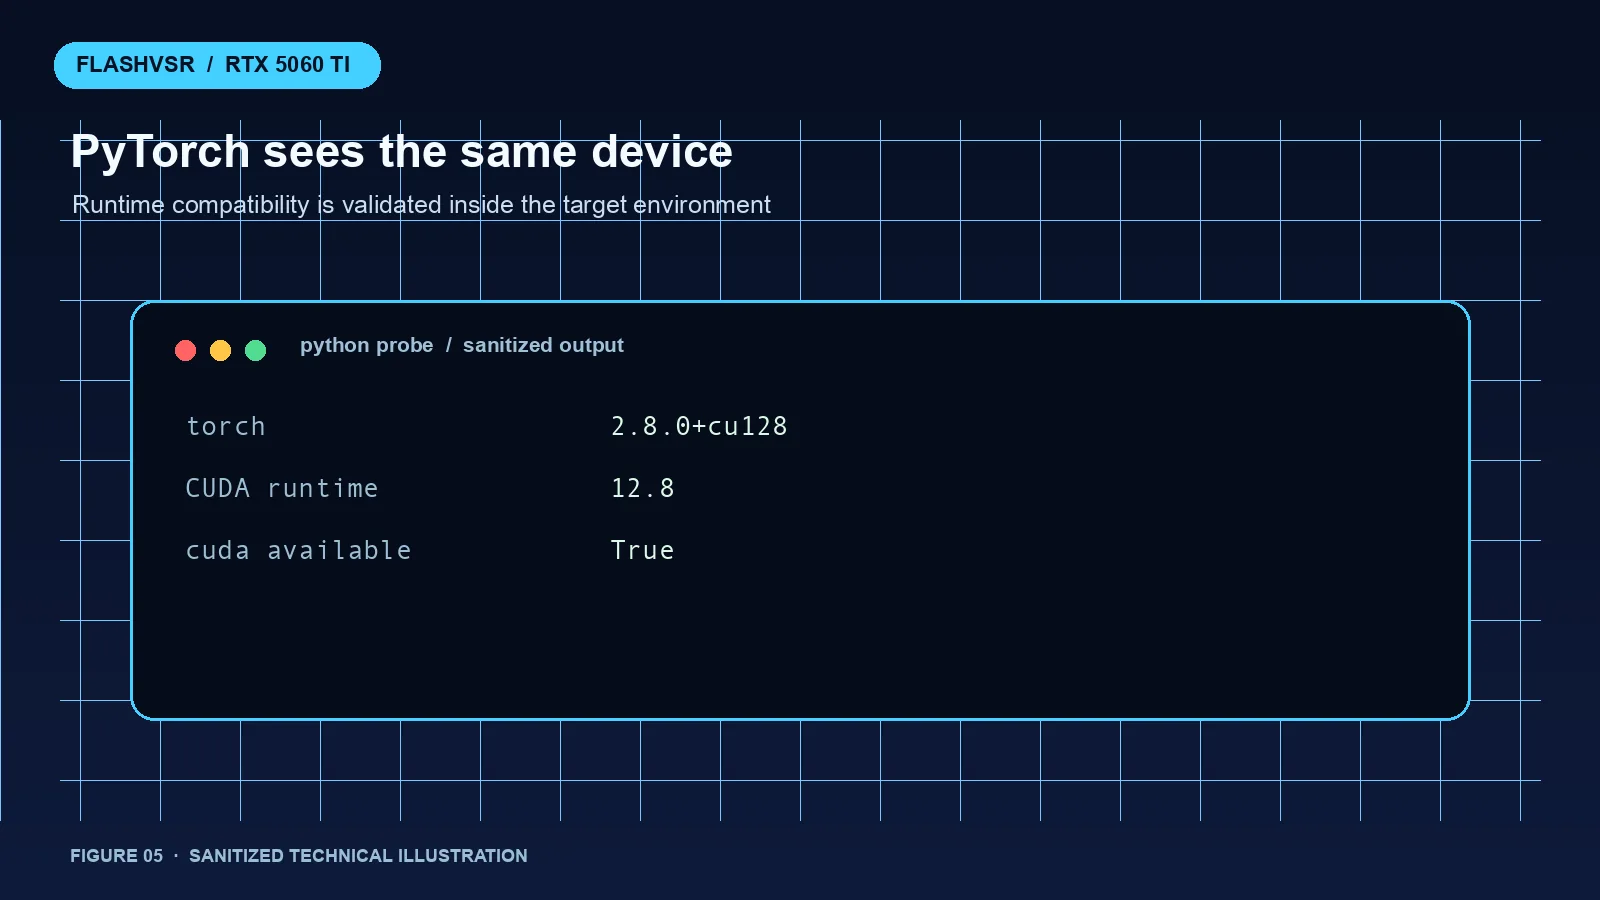 Figure 5: Sanitized PyTorch check
The upstream FlashVSR path uses block-sparse attention and can be more sensitive to CUDA compilation details. The community FlashVSR_plus path exposes SageAttention, tiled DiT, and tiled VAE options, making it a practical first experiment on a consumer Windows GPU. Tiling is like cutting a large poster into smaller squares, processing them one by one, and blending their borders.
3. Installation: why PyTorch needs a separate command
I used portable Miniconda with a Python 3.11 environment. The order matters:
- Clone FlashVSR_plus into a neutral path such as
D:\AI\FlashVSR. - Create the
flashvsrenvironment. - Install torch and torchvision from the PyTorch CUDA wheel index.
- Install ordinary packages from PyPI.
- Cache the model under the project directory.
A failed attempt used the PyTorch-only index for the entire requirements file. gradio could not be found because that index is a specialist shop, not the complete Python package market.
python -m pip install torch==2.8.0 torchvision==0.23.0 `
  --index-url https://download.pytorch.org/whl/cu128

python -m pip install gradio einops safetensors tqdm pillow `
  imageio imageio-ffmpeg ffmpeg-python huggingface_hub hf-xet triton-windows
The first run downloads JunhaoZhuang/FlashVSR. Once cached, later runs can be offline. A mirror should be an explicit, optional setting; credentials must never be embedded in a public script.
4. Symptom one: a working GPU reported as missing
The first FlashVSR attempt stopped with:
RuntimeError: No devices found to run FlashVSR!
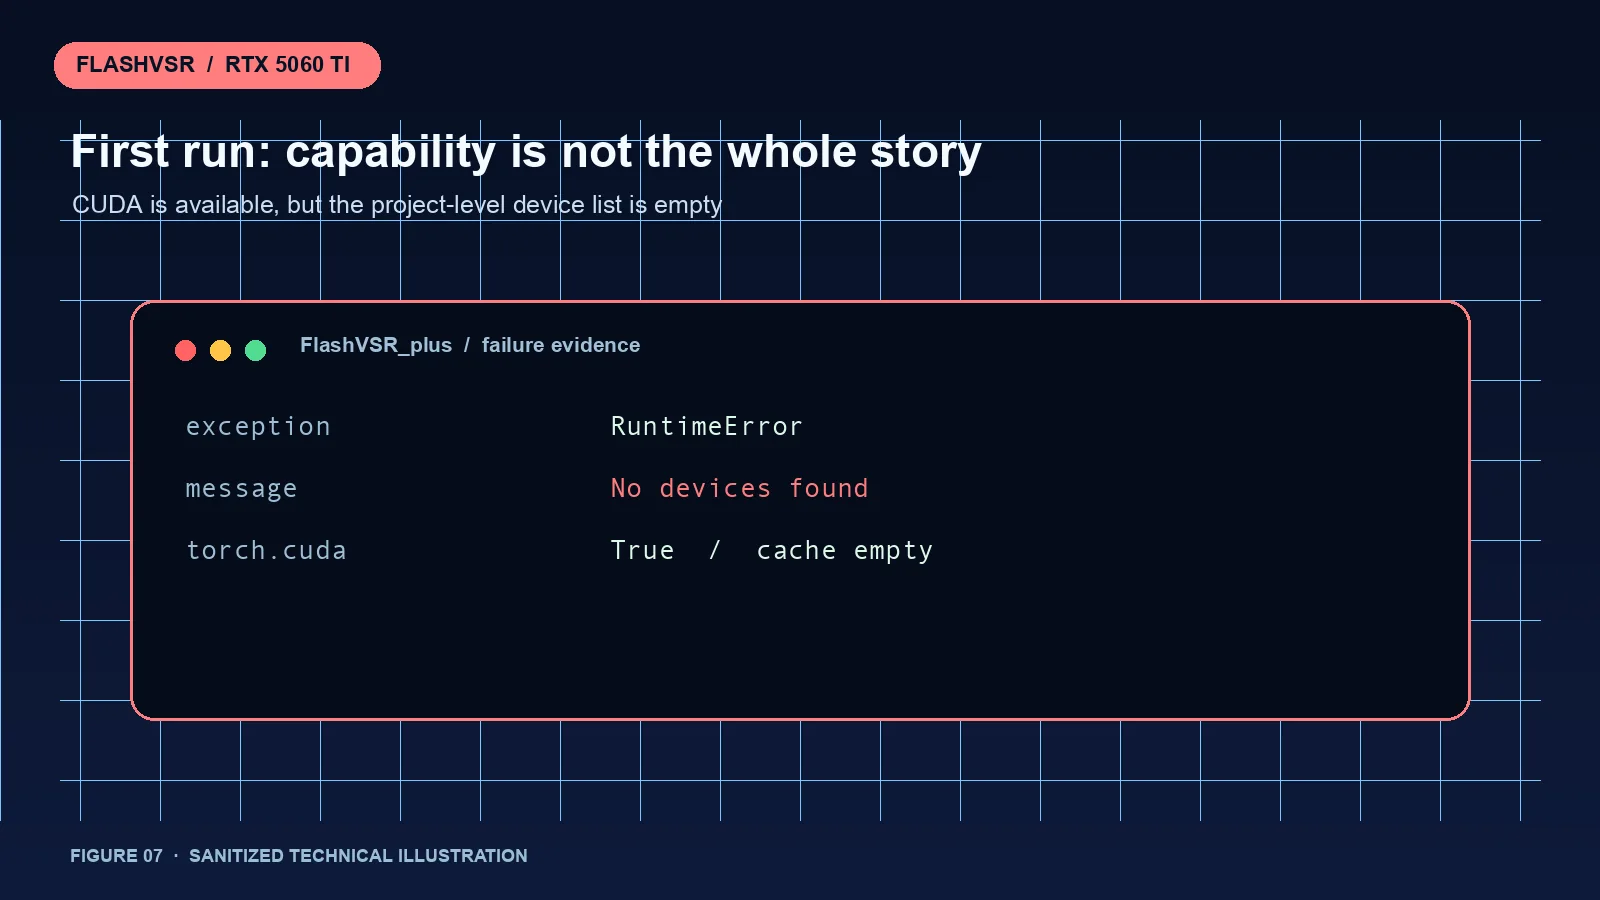 Figure 6: A device error is not automatically a hardware incompatibility
The project cached devices = get_device_list() during module import. The helper also swallowed broad exceptions during CUDA detection. If initialization failed at that moment, a later explicit -d cuda:0 could still be rejected by the stale empty list.
The useful diagnostic order is:
- Probe CUDA with the same Python executable.
- Close other GPU-heavy applications.
- Pass
-d cuda:0explicitly. - Only then investigate driver, wheel, or project dependency mismatches.
5. Symptom two: an uninitialized temp_name
After model download, tiled inference exposed a clearer source bug:
UnboundLocalError: cannot access local variable 'temp_name'
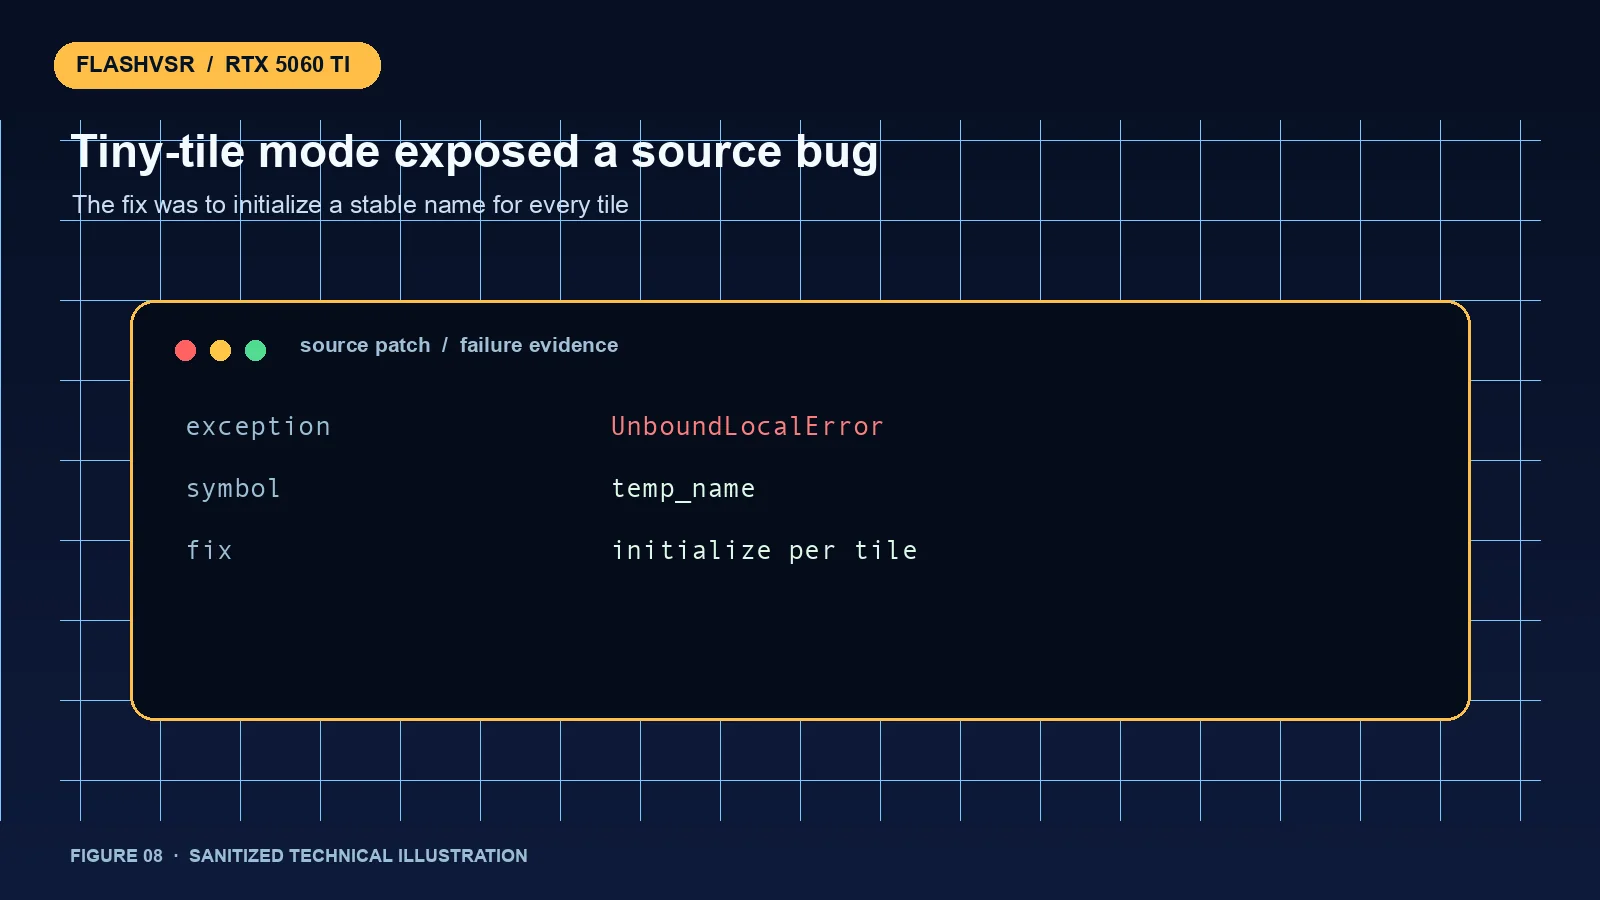 Figure 7: A variable was defined only in the tiny-long branch
The code defined the temporary output name only for tiny-long, but passed it to the pipeline in tiny mode as well. Initializing a name for every tile fixed the issue:
temp_name = os.path.join(temp, f"tile_{i+1:05d}.mp4")
if mode == "tiny-long":
    temp_name = os.path.join(local_temp, f"{i+1:05d}.mp4")
This is a good reminder to separate user configuration problems from project defects. A traceback about variable lifetime is not a CUDA performance diagnosis.
6. Symptom three: FFmpeg was installed, but FlashVSR could not see it
The conda FFmpeg executable showed a Windows DLL startup problem. The reliable fallback was the static binary bundled by imageio-ffmpeg, added to PATH before launching FlashVSR. The reason is simple: the project calls shutil.which('ffmpeg'), which only searches PATH.
$env:PATH="$env:CONDA_PREFIX\Lib\site-packages\imageio_ffmpeg\binaries;$env:PATH"
ffmpeg -version
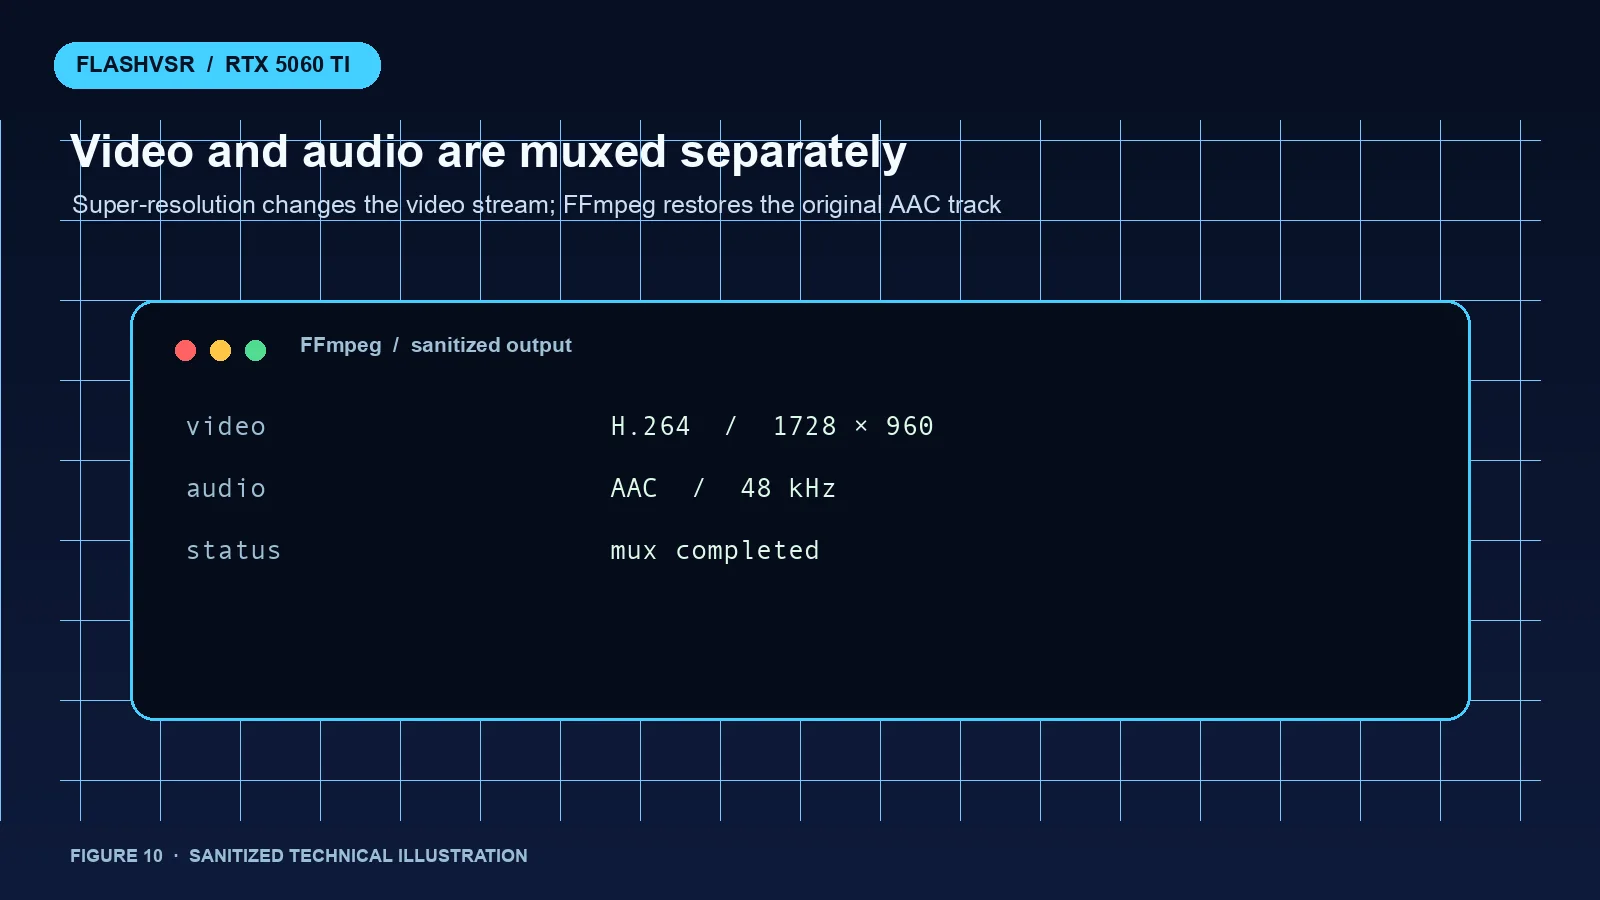 Figure 8: Copy video, encode audio, and mux safely
The model output normally has no audio, so the final mux used:
ffmpeg -y -i superres.mp4 -i input.mp4 `
  -map 0:v:0 -map 1:a:0? -c:v copy -c:a aac -shortest final.mp4
The question mark on 1:a:0? makes audio optional. The original input remains untouched and the new file receives the combined streams.
7. The real memory bottleneck was CPU RAM
The most misleading failure occurred while GPU memory was still available. The process tried to allocate roughly 1.24 GB for a CPU canvas and failed:
RuntimeError: DefaultCPUAllocator: not enough memory
tiled_dit lowers the GPU peak, but the tiny branch still creates a full final_output_canvas and a full weight_sum_canvas for all frames. It is like cutting a poster into pieces for the printer while still requiring the desk to hold two complete posters.
Practical mitigations:
- Prefer
tiny-long, which writes tile results before stitching. - Lower tile size and process shorter segments when necessary.
- Check free system memory, not only VRAM.
- Do not blindly retry the same failing configuration.
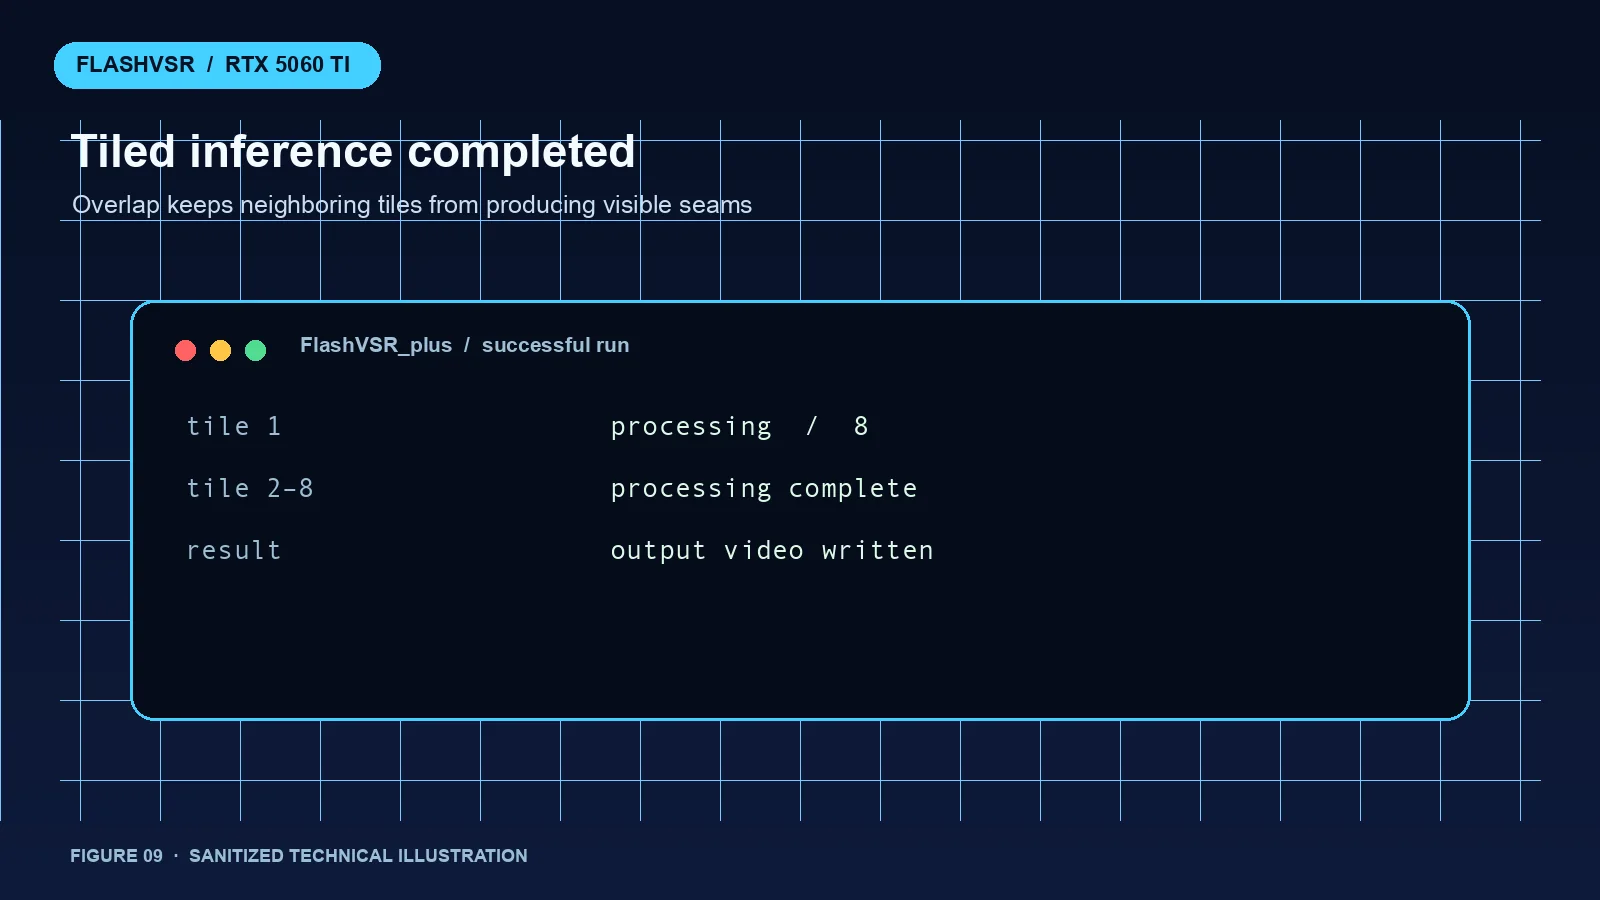 Figure 9: Sanitized log from eight successful tiles
8. Final output and reusable scripts
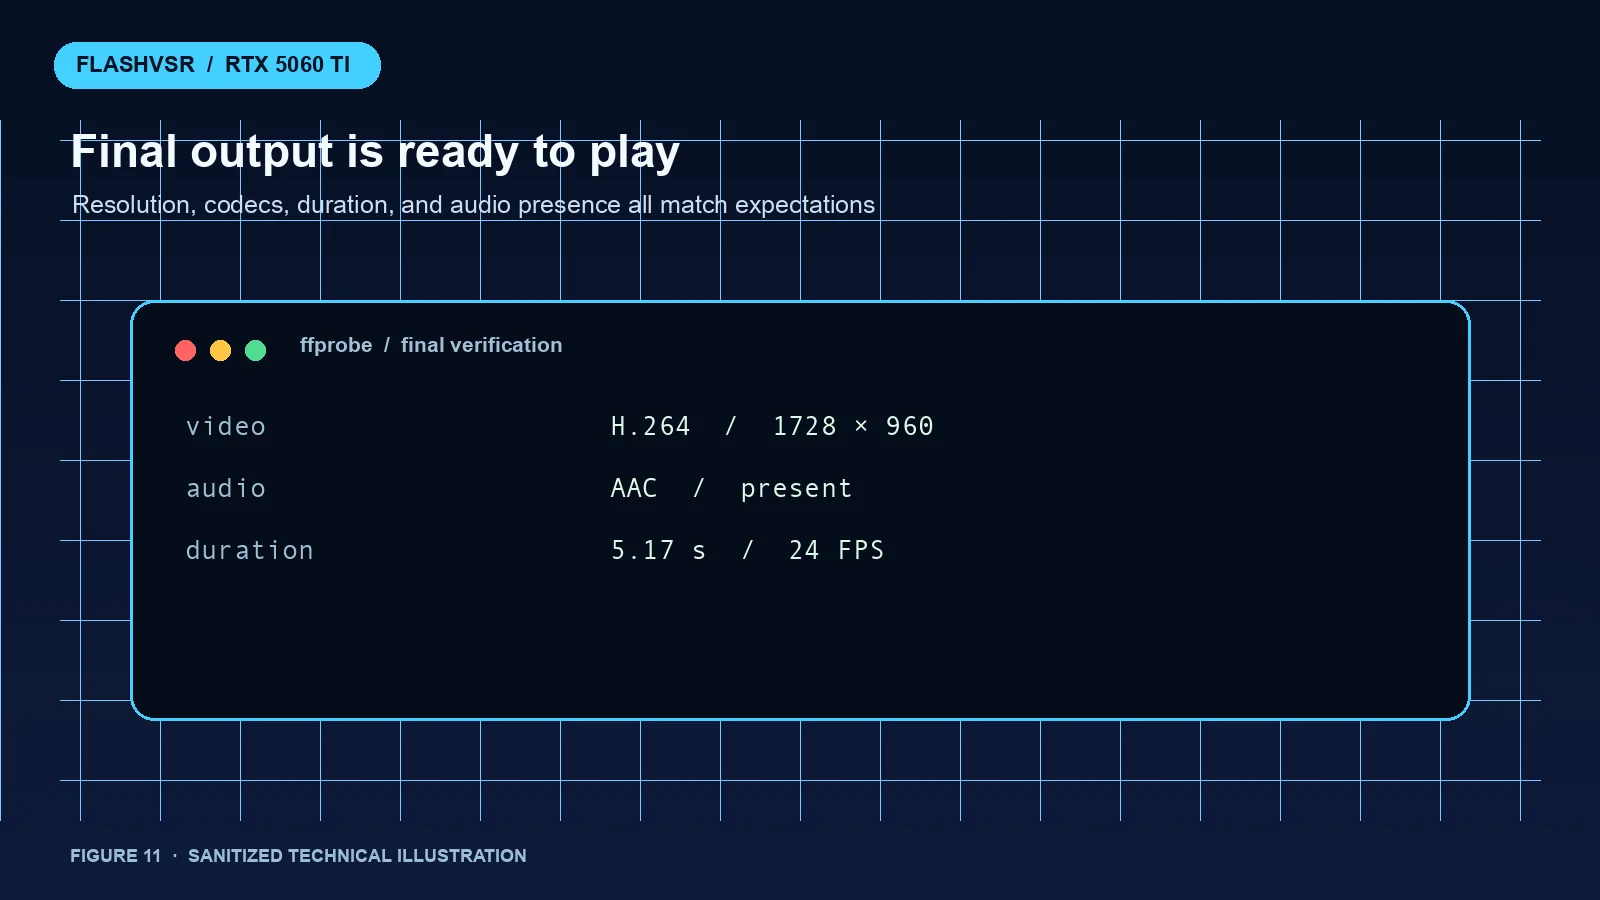 Figure 10: Final H.264 plus AAC output
| Item | Result |
|---|---|
| Input | 864×480, 24 FPS |
| Output | 1728×960, 24 FPS |
| Video | H.264 |
| Audio | AAC |
| Duration | About 5.17 seconds |
| Inference | RTX 5060 Ti, 2×, tiled |
8.1 Windows 11
Download flashvsr-win11.ps1 and place it beside the project. It checks input, Python, CUDA, FFmpeg, and free memory. It defaults to tiny-long to avoid the full CPU canvas allocation seen in this experiment.
Set-ExecutionPolicy -Scope Process Bypass
.\flashvsr-win11.ps1 `
  -InputPath "D:\video\input.mp4" `
  -OutputDir "D:\video\output" `
  -Scale 2
If the model is already cached, no external service is required. Add -UseHfMirror only when you explicitly want the optional mirror setting.
8.2 Ubuntu 26.04
Download flashvsr-ubuntu26.sh, set FLASHVSR_DIR and FLASHVSR_PYTHON, then run:
chmod +x flashvsr-ubuntu26.sh
FLASHVSR_DIR="$HOME/AI/FlashVSR" \
FLASHVSR_PYTHON="$HOME/AI/FlashVSR/.venv/bin/python" \
./flashvsr-ubuntu26.sh ./input.mp4 ./output 2
The script requires nvidia-smi, CUDA-enabled PyTorch, and FFmpeg. Driver and CUDA installation details vary, so follow current distribution and NVIDIA documentation.
8.3 macOS 26
Download flashvsr-macos26.sh. It checks the display hardware and intentionally stops. This is honest behavior: the tested path uses CUDA and SageAttention, not a verified Apple MPS backend. Do not copy CUDA flags to macOS and assume they work.
8.4 Manual and Agent-assisted operation
Manual operation is ideal when you want to understand each layer: probe hardware, install dependencies, test a short clip, and mux audio. Agent automation is useful for repeatable setup, but it must follow “read-only discovery → show plan → obtain approval → execute → verify”. The accompanying flashvsr-agent-template.md forbids deleting the source, uploading data, or printing private environment details.
9. Q&A
Q1: Why not force 1920×1080?
Because the source is not 16:9. Cropping or padding can be done later, but that is a composition choice and should not happen silently inside the super-resolution command.
Q2: Does every RTX 50 card require one fixed CUDA version?
No. The driver, runtime, and PyTorch wheel are separate layers. Use the current official selector and probe the exact environment.
Q3: Does tiling solve every memory problem?
No. It mostly reduces GPU peaks. A CPU-wide output canvas can still exhaust system memory.
Q4: Why is the output silent?
The model processes video frames, not the original audio stream. FFmpeg must map the audio from the source into a new output file.
Q5: Official or community build?
Choose based on platform, GPU, and the behavior you need. The upstream project is closer to the research implementation; a community build may expose more practical consumer-GPU switches. Lock versions, keep logs, and test a short clip first.
10. References
- Official FlashVSR project
- FlashVSR project page
- PyTorch local installation selector
- NVIDIA CUDA GPU list
- CUDA Blackwell compatibility guide
- ImageIO FFmpeg documentation
- Hugging Face download guide
The lasting lesson: the hard part is often not pressing Run. It is knowing which layer failed. Put environment probes, resource checks, fallback modes, and audio muxing into the script, and the next run becomes a procedure instead of a guessing game.